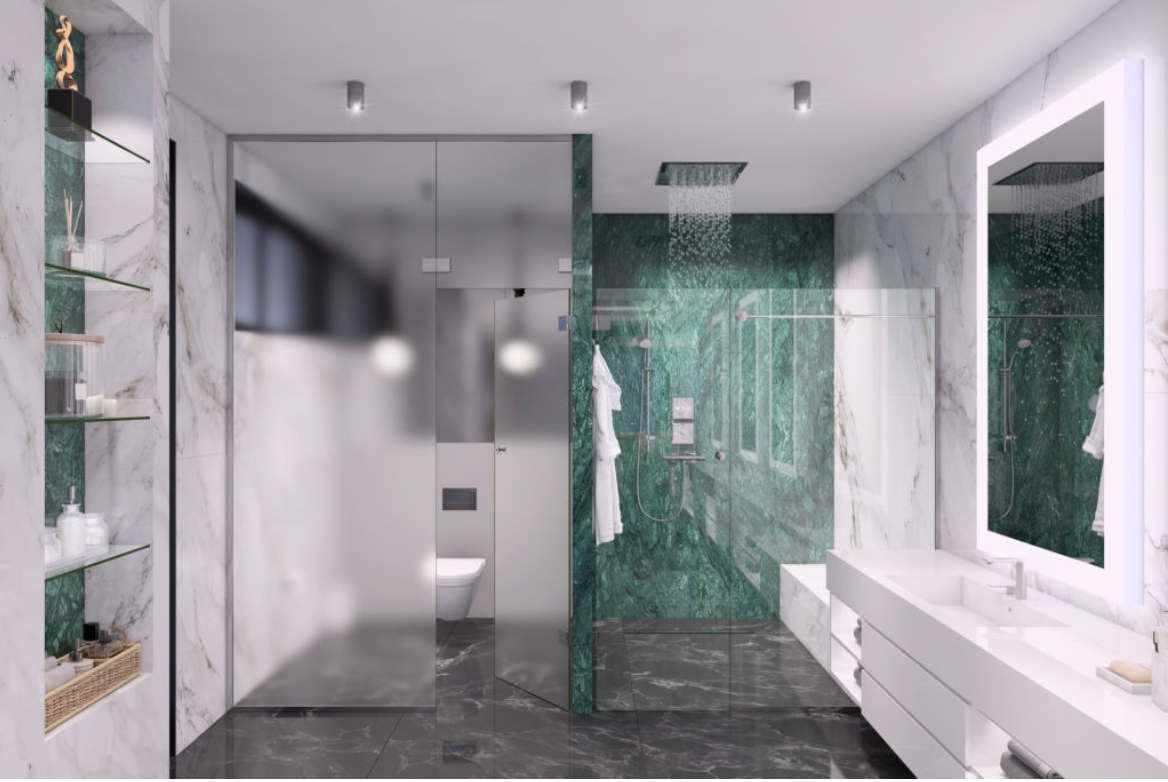
Are you planning to upgrade your bathroom but don’t know where to start? Installing shower screens and splashbacks can be a great way to achieve a sleek and modern look for your bathroom. They not only enhance the aesthetic appeal, but also provide practical benefits such as preventing water damage to your walls and floors. In this blog, we will guide you through the process of installing shower screens and splashbacks, from selecting the right materials to completing the installation.
Choosing the Right Materials
Before we dive into the installation process, it’s important to choose the right materials for your shower screens and splashbacks. For shower screens, you can opt for tempered glass, which is durable and easy to clean. You can also choose between framed or frameless designs, depending on your preference. When it comes to splashbacks, you can choose from a variety of materials such as acrylic, stone, or glass. Consider factors such as durability, cost, and style when making your selection.
Measuring the Space
The next step is to measure the space where you want to install the shower screens and Melbourne splashbacks. This will help you determine the size and shape of the materials you need to purchase. Use a measuring tape to get accurate measurements of the wall and floor space where you plan to install the products. Make sure to measure twice to avoid any errors.
Installing Shower Screens
To install shower screens, you will need to follow a few steps. Firstly, you’ll need to attach the bottom track to the floor, followed by the side tracks to the walls. Once this is done, you can slide the glass panels into the tracks and secure them in place. Make sure that the screens are level and aligned correctly. Finally, attach any handles and hardware required to complete the installation.
Installing Splashbacks
Installing splashbacks is a relatively easy process. You will need to start by preparing the surface where the splashbacks will be installed. Make sure that the area is clean and dry. Next, apply an adhesive to the back of the splashback and carefully place it onto the wall, making sure it’s level. Wipe off any excess adhesive and leave it to dry for at least 24 hours before using your shower or bath.
Finishing Touches
To complete installing shower screens, make sure to seal any gaps between the shower screen and the walls with silicone sealant. This will prevent any water from seeping in between the gaps. You can also add grout to the edges of the splashbacks to give them a clean and polished look.
Conclusion
Installing shower screens and splashbacks can be a great DIY project that can transform your bathroom. By following these simple steps, you can achieve a sleek and modern look while also protecting your walls and floors from water damage. Remember to choose the right materials, measure accurately, and take your time during the installation process. With a bit of patience and effort, you can give your bathroom the upgrade it deserves.
